


About this item
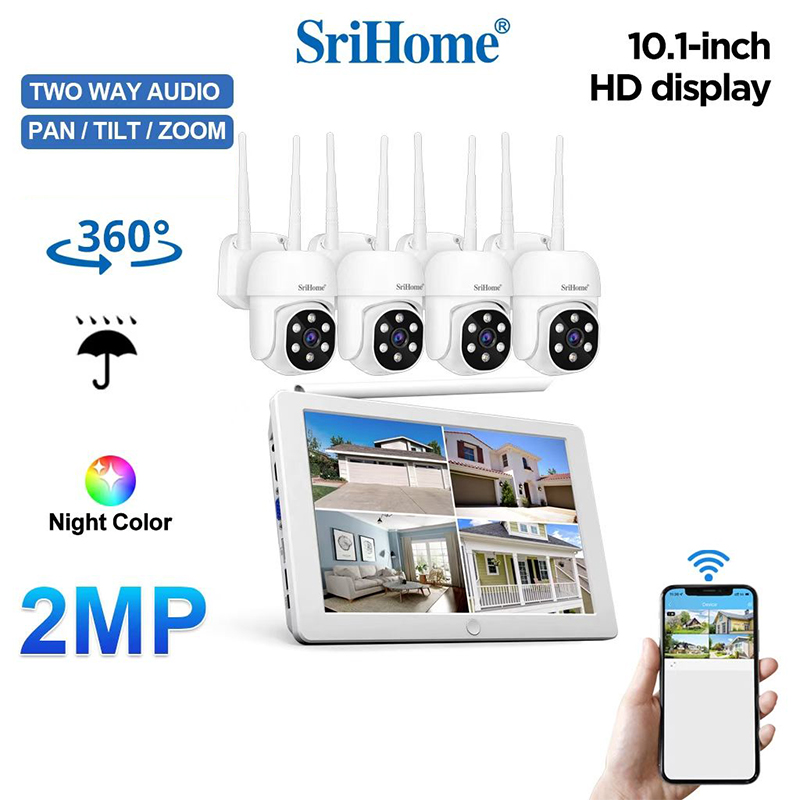
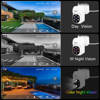
1. Comes with a 10.1-inch LCD screen
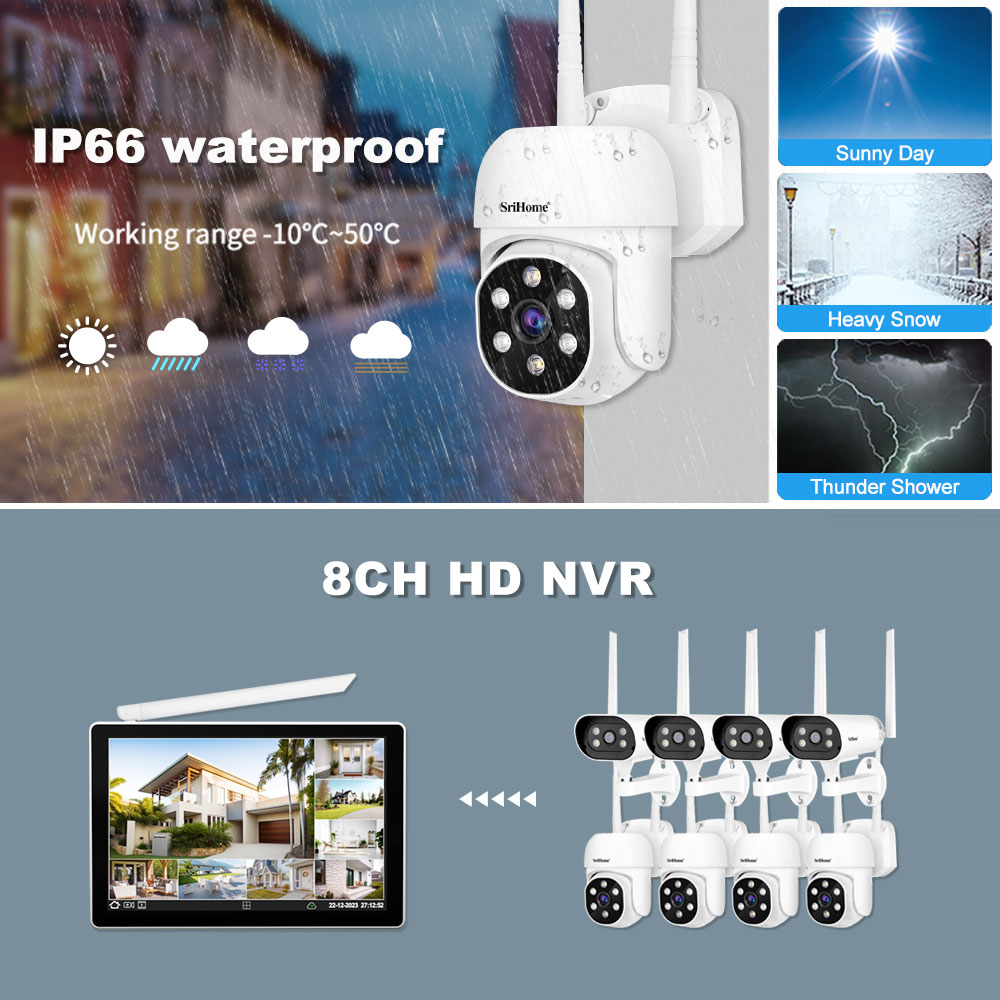
2. Support up to 8 wireless cameras
3. Support SriHome app, one-click configuration to access the Internet
4. Support up to 16TB hard disk storage and playback
5. Support wireless bridge mode – WiFi range up to 60 meters
6. Support HDMI and VGA or MIPI screen output
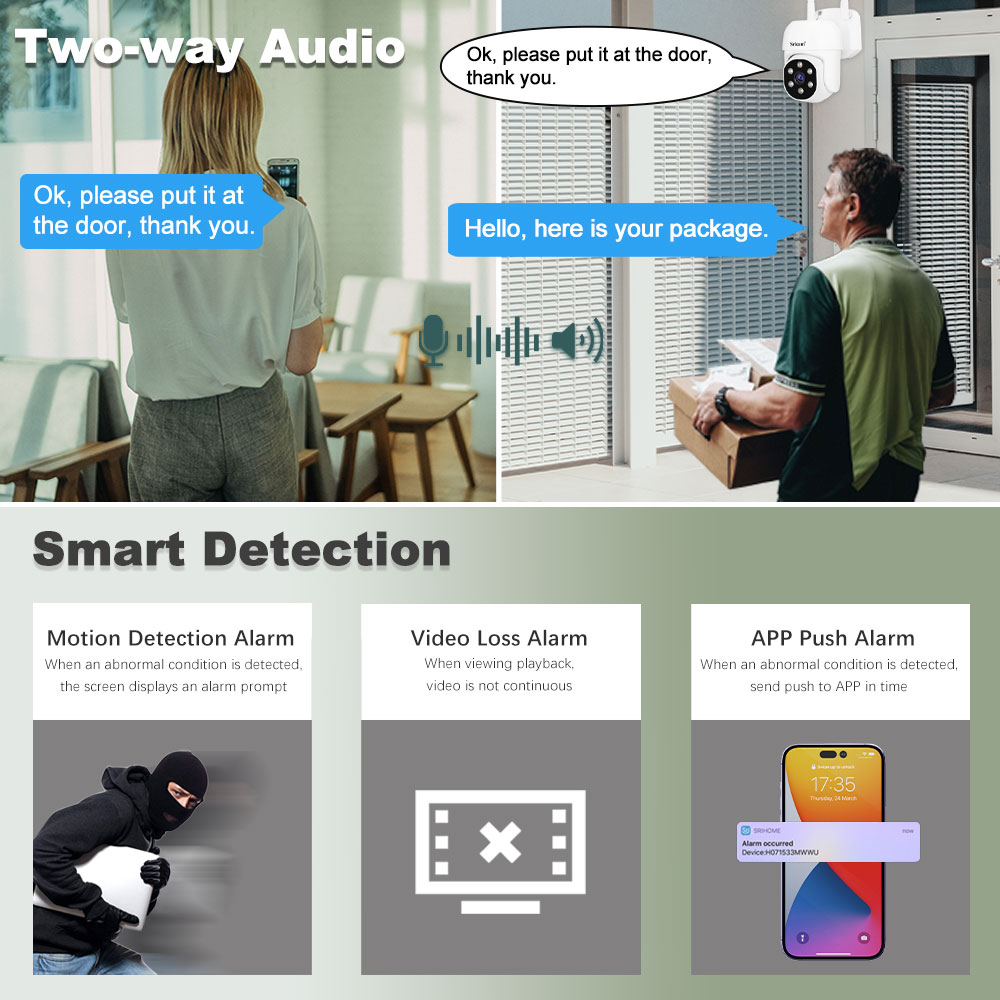
7. Support Two Way Audio


About NVR
Video
Video Input:8
Video Resolution:1080P(1920×1080)VGA(640×360)
Video Output:1ch HDMI(1080P), 1ch VGA(7200P)
Compression Format:H265/H264/Smart264
Coding Capacity:8*2M/25fps
Decoding Capacity:1*2M/25fps(Main stream);8*D1/25fps(Sup stream)
Compression Format:H265; H.264
Audio
Audio:Two-way audio
Audio Output:HDMI; 1*AUX Audio Output; built-in speaker
Audio Decoding Format:G.711U; AAC
HDD
Internal HDD:1 SATA Port(Only supports 2.5-inch hard drive)
Capacity:Up to 16TB
Recording /Playback
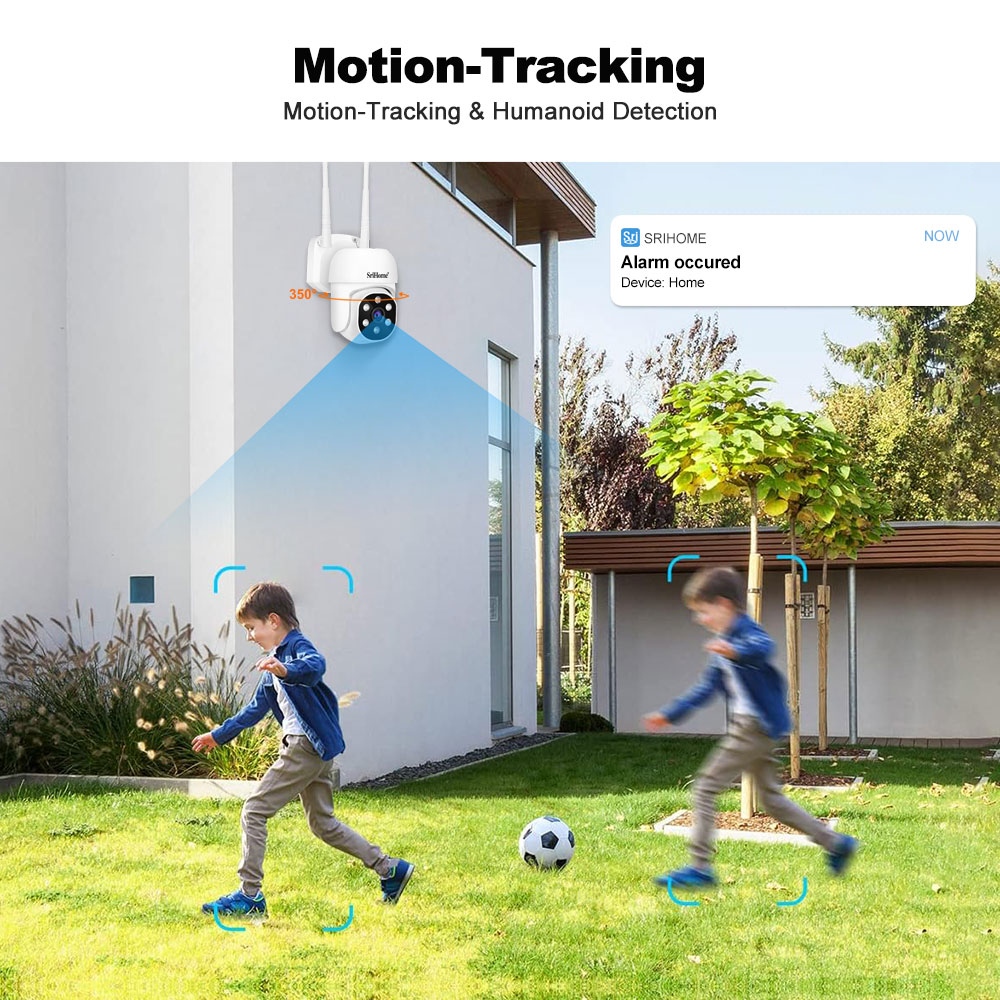
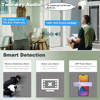
Recording:Manual Recording, Timed Recording, Event Recording, Alarm Recording (Motion Detection, Humanoid Detection)
Playback:Instant Playback, Regular Playback, Event Playback, Tag Playback, External File Playback, Log Playback
Backup Modes:Regular Backup, Event Backup, Wideo Backup
External interface
Network Interface:1*RJ45 Network interface
USB Interface:1*USB2.0
HDMI Interface:1
VGA Interface:1
Audio Interface:1*AUX audio output port
Power Interface:1 DC 12V 2A (5.5*2.1*10 )
How to setup microSD card record settings
SD card installation video://www.youtube.com/embed/nbpofPlUV2k
Note: Cameras maximum support 128 GB SD card.
1). Remove power cable before inserting the microSD card to the camera.

2). MicroSD card format and record setting
Log in “SriHome” App and follow the steps:Settings -> Record Setting .
There are 2 types of recordings:
24/7 recording: 24/7 recording refers to the continuous recording of the camera which is about every 10 minutes as a node continuous recording.
Alarm recording: The camera captures footage only when the motion detection alarm is activated.

The system does not detect SD Card.
Followings are a few possible reasons why this may be occurring:
1. Please power off camera before inserting SD card into camera.
2. The SD card read&write speed not good, please use a SD card with class 10 or above class 10.
4. The SD card is broken.
3. The SD card has not been formatted properly.
5. The SD card slot is faulty.
SD card video playback view:

Note:Both 24/7 recording and Alarm recording cannot be opened at the same time ,only one of them can be opened.
The system does not detect an SD Card
1. Please power off camera before inserting SD card into camera.
2. The SD card read&write speed not good, please use a SD card with class 10 or above class 10.
3. The SD card is broken.
4. The SD card has not been formatted properly. please format sd www.sricam.com/srihome/download
5. The SD card slot is malfunctioning.
Camera's Wi-Fi is unstable and often offline
1. Check whether antenna is tightened.
2. Set maximum transmission power:In some wireless routers, the transmission power can be reduced,which reduces the performance
of the wireless network. Make sure your wireless router has the maximum transmit power set.
3. WiFi channels: check if WiFi channels are busy, possibly reconfigure to “Automatic”.
4. The camera IP address conflicts with other devices, needing to set camera IP address to be a
fixed one.
5. Change the name of the wireless network (SSID): If there are different wireless networks with the same name (SSID) in your
environment-perhaps because a neighbor uses the same wireless router,a wireless repeater has the same name as the router – WLAN
devices could try to automatically connect to the wrong wireless network ,Therefore, set up a unique wireless network name in your
wireless router or repeater.
6. To check Wi-Fi signal, in normally, it should be more than 3 bars.
(The distance between the camera and wifi router being too far might cause wifi signal to be less than 3 bars )

Can't connect WiFi
If you fail to setting WiFi for ip camera, please make sure your router:
1. All IP Cameras support 2.4G HZ WIFI,only some IP cameras don't support 5GHZ Wi-Fi.
2. NO MAC filter enabled on your router. Or you need to disable MAC filter temporarily before successfully configuring camera.
3. Router’s DHCP is enabled, after setting up and setting a fixed ip address for IP camera, you can disable DHCP again.
4. The WiFi Encryption is WPA/WPA2-PSK, either AES or TKIP encryption is OK if you are not using WPA/WPA2.
There is possible using WEP. It is recommended to use WPA/WPA2 now because WEP is quite old technology and not safe nowadays.
5. WiFi Channel needs to set as AUTO in order to avoid busy channels.
Inconsistent signal, it could be due to:
1) Too many devices sharing the same internet network. Please try to disconnect other devices.
2) The IP camera is too far from the router if using WIFI connection.
• Other quality and setup issue, please reset camera to factory default.
How to restore the camera to factory settings?
Step 1: Power on the IP Camera and wait for about 30 seconds
Step 2: Keep pressing the RESET button for about 15 seconds then release.
Then camera successfully restore to factory settings (password default : 888888).